As technology continues to evolve, the integration of IoT (Internet of Things) with remote networking has become increasingly essential for businesses and hobbyists alike. The combination of a Virtual Private Cloud (VPC) network and Raspberry Pi offers an excellent solution for creating a secure, scalable, and cost-effective remote IoT infrastructure. In this article, we will explore the best practices for setting up a remote IoT VPC network using Raspberry Pi.
This guide is designed to provide you with actionable insights and practical steps to configure your Raspberry Pi as the backbone of your IoT VPC network. Whether you're a beginner or an experienced developer, this article will cover everything you need to know to create a robust and secure remote IoT setup.
By the end of this guide, you'll understand how to leverage Raspberry Pi's capabilities to build a reliable IoT VPC network that can be accessed remotely, ensuring seamless communication and management of your IoT devices.
Read also:Matthew Mcconaughey Father A Deep Dive Into The Life Legacy And Influence
Table of Contents
- Introduction to IoT VPC Network
- Benefits of Using Raspberry Pi for IoT
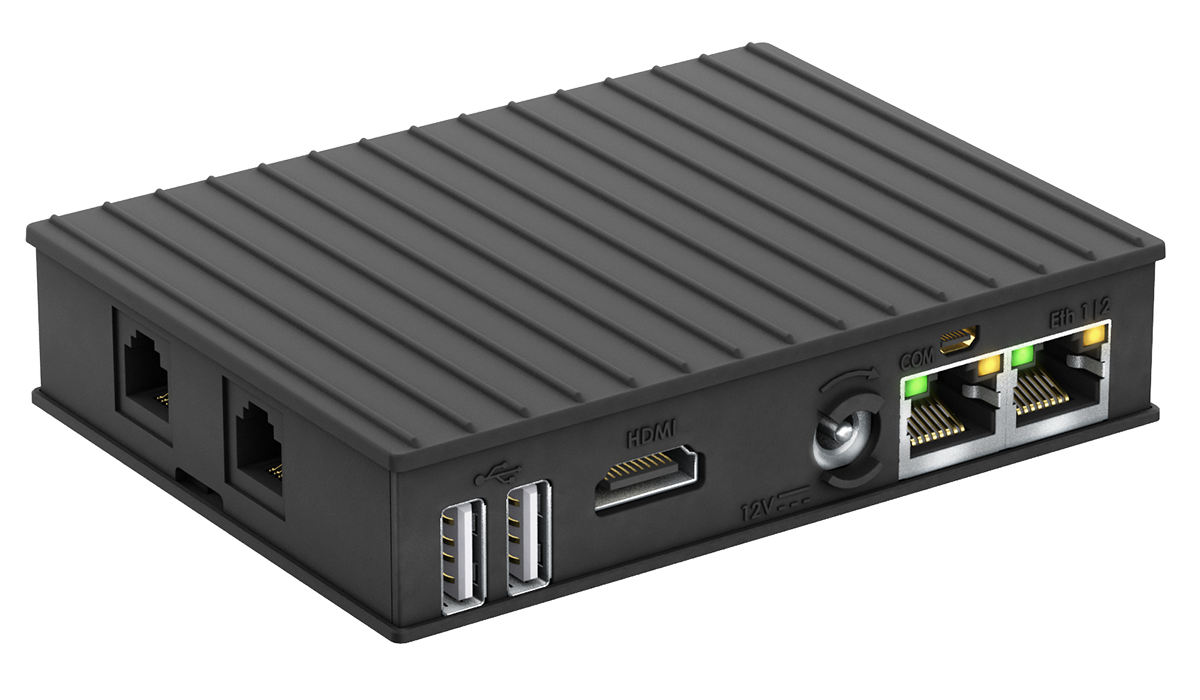
- Hardware Requirements for Setup
- Software Setup for Raspberry Pi
- Securing Your IoT VPC Network
- Setting Up Remote Access
- Optimizing IoT VPC Performance
- Common Issues and Troubleshooting
- Real-World Case Studies
- Conclusion and Next Steps
Introduction to IoT VPC Network
An IoT VPC network is a virtual private cloud environment specifically designed to manage and communicate with IoT devices securely. It acts as a centralized hub where all your IoT devices can connect, exchange data, and be monitored remotely. This setup ensures that sensitive data is protected while maintaining efficient communication between devices.
Why Choose a VPC for IoT?
A VPC offers several advantages for IoT deployments:
- Enhanced security through isolated networking.
- Scalability to accommodate growing numbers of IoT devices.
- Cost-effectiveness compared to traditional cloud solutions.
- Flexibility in customizing the network architecture.
By leveraging a VPC, you can create a dedicated space for your IoT devices, ensuring they operate in a secure and controlled environment.
Benefits of Using Raspberry Pi for IoT
Raspberry Pi has emerged as a popular choice for IoT projects due to its affordability, versatility, and community support. Here are some key benefits:
Cost-Effective Solution
Raspberry Pi provides an affordable hardware option for setting up an IoT VPC network. With models starting at a low price point, it's ideal for both hobbyists and small-scale businesses.
Rich Ecosystem
The Raspberry Pi community offers extensive resources, including tutorials, forums, and pre-built software packages, making it easier to deploy and manage IoT projects.
Read also:Alexander Bauer A Comprehensive Exploration Of His Life Career And Achievements
Customization and Flexibility
Raspberry Pi supports a wide range of operating systems and programming languages, allowing you to tailor your IoT setup to meet specific needs.
Hardware Requirements for Setup
Before diving into the setup process, ensure you have the following hardware components:
- Raspberry Pi (Model 3B+ or 4 recommended)
- MicroSD card (16GB or higher)
- Power adapter compatible with Raspberry Pi
- Ethernet cable or Wi-Fi adapter for connectivity
- USB keyboard and mouse (optional for initial setup)
- HDMI monitor (optional for initial setup)
Having these components will ensure a smooth installation and configuration process.
Software Setup for Raspberry Pi
Once you have the necessary hardware, it's time to set up the software environment. Follow these steps:
Step 1: Install Raspberry Pi OS
Download the latest version of Raspberry Pi OS from the official website and flash it onto your MicroSD card using a tool like Balena Etcher.
Step 2: Configure Network Settings
Connect your Raspberry Pi to the internet via Ethernet or Wi-Fi. Configure static IP settings if required for consistent network communication.
Step 3: Enable SSH
SSH (Secure Shell) allows you to remotely access and manage your Raspberry Pi. Enable SSH by creating an empty file named "ssh" in the boot partition of the MicroSD card.
Securing Your IoT VPC Network
Security is paramount when setting up an IoT VPC network. Follow these best practices to safeguard your setup:
Implement Firewall Rules
Use tools like UFW (Uncomplicated Firewall) to define strict access rules, allowing only necessary traffic to pass through.
Use Strong Authentication
Enable two-factor authentication (2FA) and use strong, unique passwords for all accounts accessing the IoT VPC network.
Regularly Update Software
Keep your Raspberry Pi OS and all installed packages up to date to protect against vulnerabilities.
Setting Up Remote Access
Remote access is one of the primary benefits of an IoT VPC network. Here's how you can configure it:
Option 1: Use SSH for Command-Line Access
SSH provides a secure method for accessing your Raspberry Pi remotely. Use a client like PuTTY (Windows) or Terminal (Mac/Linux) to connect.
Option 2: Set Up a Web Interface
Install a lightweight web server like Nginx or Apache on your Raspberry Pi to create a user-friendly interface for managing your IoT devices.
Optimizing IoT VPC Performance
To ensure optimal performance of your IoT VPC network, consider the following tips:
Monitor Resource Usage
Use tools like htop or glances to monitor CPU, memory, and disk usage on your Raspberry Pi. This helps identify potential bottlenecks.
Implement Load Balancing
If you have multiple IoT devices, distribute the workload evenly across your VPC network to prevent overload on any single component.
Common Issues and Troubleshooting
Even with careful planning, issues may arise during setup. Here are some common problems and their solutions:
Issue: Unable to Connect via SSH
Ensure that SSH is enabled and that your firewall rules allow SSH traffic. Verify the IP address and credentials being used for the connection.
Issue: Slow Network Performance
Check for bandwidth limitations or excessive network traffic. Upgrade your internet connection or optimize data transfer protocols if needed.
Real-World Case Studies
Several organizations have successfully implemented IoT VPC networks using Raspberry Pi. For example:
Case Study 1: Smart Agriculture
Agricultural companies use IoT sensors connected to a Raspberry Pi-based VPC network to monitor soil moisture, temperature, and humidity levels. This setup helps optimize crop yields and reduce water usage.
Case Study 2: Home Automation
Individuals leverage Raspberry Pi to create smart home ecosystems, controlling lighting, temperature, and security systems remotely through a secure VPC network.
Conclusion and Next Steps
In conclusion, setting up a remote IoT VPC network using Raspberry Pi offers numerous advantages, including enhanced security, scalability, and cost-effectiveness. By following the steps outlined in this guide, you can create a robust and efficient IoT infrastructure tailored to your needs.
We encourage you to share your thoughts and experiences in the comments section below. Additionally, explore other articles on our site to deepen your understanding of IoT and Raspberry Pi applications.
References: