Remotely accessing Raspberry Pi for remote IoT on Windows 10 has become increasingly important for developers and hobbyists alike. As technology continues to evolve, understanding how to connect your Raspberry Pi remotely can unlock numerous possibilities for automation, monitoring, and control. Whether you're managing smart home devices, creating custom IoT applications, or simply troubleshooting your setup, this guide will provide step-by-step instructions to ensure seamless connectivity.
In today's interconnected world, remote access is no longer a luxury but a necessity. With the growing popularity of IoT (Internet of Things), devices like Raspberry Pi have emerged as versatile tools for building innovative projects. By learning how to remotely access Raspberry Pi, you can streamline workflows, reduce physical presence requirements, and enhance overall productivity.
This article will cover everything from setting up your Raspberry Pi for remote access to troubleshooting common issues. Whether you're a beginner or an experienced user, this guide will ensure you have the knowledge and tools to connect your Raspberry Pi remotely using Windows 10. Let's dive in and explore the possibilities of remote IoT management.
Read also:John Krasinski Wife A Closer Look At The Couplersquos Love Story
Table of Contents
- Setting Up Your Raspberry Pi for Remote Access
- Using SSH to Remotely Access Raspberry Pi
- Connecting via VNC for Remote IoT
- Configuring Network Settings
- Connecting Raspberry Pi to Windows 10
- Security Considerations for Remote Access
- Troubleshooting Common Issues
- Exploring IoT Applications with Raspberry Pi
- Best Practices for Remote IoT Management
- Conclusion and Call to Action
Setting Up Your Raspberry Pi for Remote Access
Before you can remotely access your Raspberry Pi, it's essential to set it up correctly. This involves installing the necessary software, configuring network settings, and ensuring your Raspberry Pi is ready for remote connectivity.
Step-by-Step Guide to Setup
Here's a quick overview of the steps involved:
- Install the latest version of Raspberry Pi OS on your SD card.
- Enable SSH by creating an empty file named "ssh" in the boot directory.
- Connect your Raspberry Pi to a monitor, keyboard, and mouse for initial setup.
- Configure Wi-Fi settings using the Raspberry Pi Configuration tool.
Once your Raspberry Pi is set up and connected to the internet, you can proceed with remote access methods. This foundational setup ensures that your device is ready for seamless remote connectivity.
Using SSH to Remotely Access Raspberry Pi
SSH (Secure Shell) is one of the most popular methods for remotely accessing Raspberry Pi. It provides a secure and encrypted connection, making it ideal for remote IoT applications.
Enabling SSH on Raspberry Pi
To enable SSH on your Raspberry Pi:
- Open the terminal on your Raspberry Pi.
- Type the following command:
sudo raspi-config. - Navigate to "Interfacing Options" and select "SSH".
- Choose "Yes" to enable SSH and reboot your Raspberry Pi.
After enabling SSH, you can use an SSH client like PuTTY on Windows 10 to connect to your Raspberry Pi remotely. Simply enter the IP address of your Raspberry Pi and log in using your credentials.
Read also:Moana Live Action Cast The Ultimate Guide To The Starstudded Ensemble
Connecting via VNC for Remote IoT
While SSH provides a command-line interface, VNC (Virtual Network Computing) allows you to access the graphical user interface (GUI) of your Raspberry Pi remotely. This method is particularly useful for applications that require visual interaction.
Setting Up VNC Server on Raspberry Pi
To set up VNC on your Raspberry Pi:
- Install the VNC server by running:
sudo apt-get install realvnc-vnc-server. - Enable VNC by navigating to "Interfacing Options" in
raspi-config. - Download the VNC Viewer application on your Windows 10 computer.
- Connect to your Raspberry Pi by entering its IP address in the VNC Viewer.
VNC offers a user-friendly interface for managing IoT projects, making it a valuable tool for remote access.
Configuring Network Settings
Proper network configuration is crucial for ensuring reliable remote access to your Raspberry Pi. This includes setting up static IP addresses, port forwarding, and ensuring your router is configured correctly.
Assigning a Static IP Address
To assign a static IP address:
- Open the terminal on your Raspberry Pi.
- Edit the
/etc/dhcpcd.conffile using:sudo nano /etc/dhcpcd.conf. - Add the following lines at the bottom of the file:
interface eth0static ip_address=192.168.1.100/24static routers=192.168.1.1static domain_name_servers=192.168.1.1
- Save the file and reboot your Raspberry Pi.
A static IP address ensures that your Raspberry Pi always has the same address, making it easier to connect remotely.
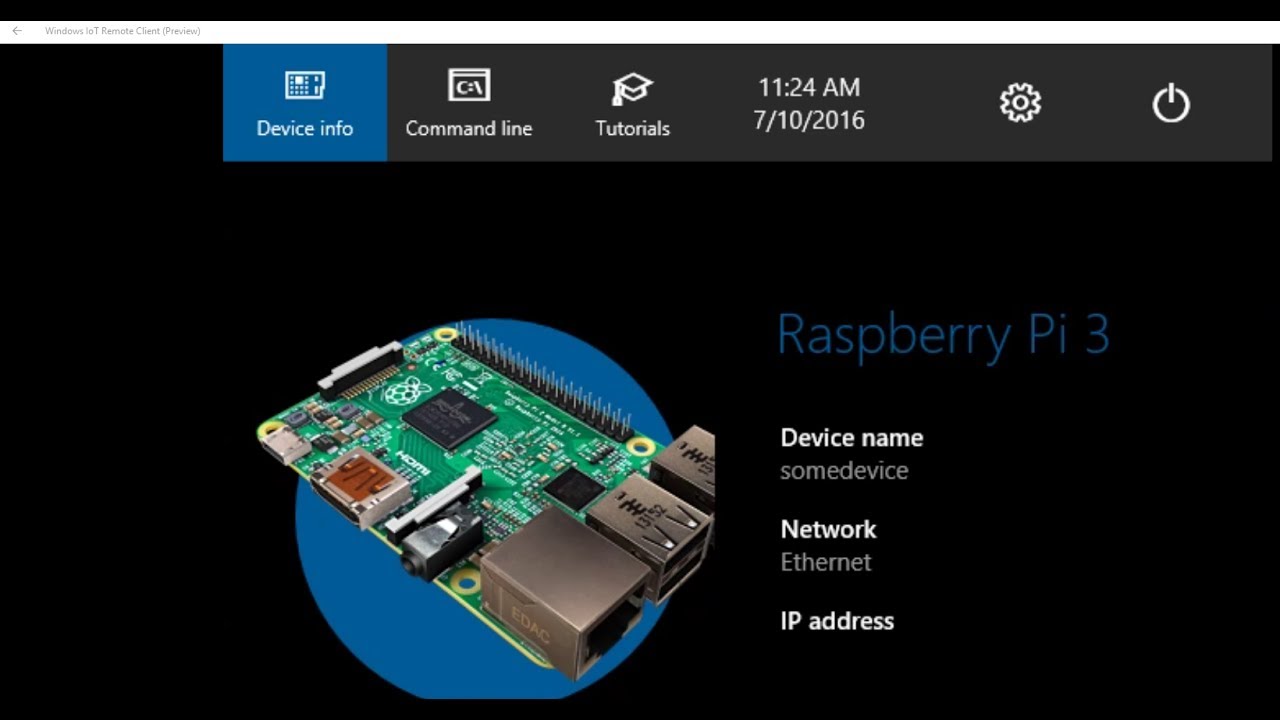
Connecting Raspberry Pi to Windows 10
Connecting your Raspberry Pi to Windows 10 involves using tools like SSH clients and VNC viewers. These tools provide a seamless way to manage your Raspberry Pi remotely from your Windows machine.
Using PuTTY for SSH
PuTTY is a free and widely used SSH client for Windows. To connect:
- Download and install PuTTY from the official website.
- Open PuTTY and enter the IP address of your Raspberry Pi in the "Host Name" field.
- Set the connection type to "SSH" and click "Open".
- Log in using your Raspberry Pi credentials.
PuTTY provides a reliable and secure connection, making it an excellent choice for remote IoT management.
Security Considerations for Remote Access
When remotely accessing your Raspberry Pi, security should be a top priority. Unauthorized access can compromise your IoT projects and personal data. Here are some security best practices:
- Use strong and unique passwords for your Raspberry Pi.
- Enable two-factor authentication (2FA) if possible.
- Regularly update your Raspberry Pi OS and software.
- Use a firewall to restrict unauthorized access.
- Consider using a Virtual Private Network (VPN) for added security.
Implementing these security measures ensures that your Raspberry Pi remains safe from potential threats.
Troubleshooting Common Issues
Even with proper setup, issues can arise when remotely accessing your Raspberry Pi. Here are some common problems and their solutions:
Problem: Unable to Connect via SSH
Solution:
- Ensure SSH is enabled on your Raspberry Pi.
- Verify that the IP address is correct.
- Check your network settings and ensure there are no firewall restrictions.
Problem: Slow Connection Speed
Solution:
- Optimize your network settings for better performance.
- Use a wired connection instead of Wi-Fi for faster speeds.
- Consider upgrading your router or network infrastructure.
Troubleshooting these issues can help ensure a smooth and reliable remote connection.
Exploring IoT Applications with Raspberry Pi
Raspberry Pi is a versatile tool for building IoT applications. From smart home automation to environmental monitoring, the possibilities are endless. Here are some popular IoT applications:
- Smart Home Devices: Control lights, thermostats, and security systems remotely.
- Environmental Monitoring: Measure temperature, humidity, and air quality in real-time.
- Remote Surveillance: Set up a DIY security camera system.
- Automation: Automate repetitive tasks using scripts and sensors.
These applications demonstrate the power and flexibility of Raspberry Pi in the IoT space.
Best Practices for Remote IoT Management
To ensure successful remote IoT management, follow these best practices:
- Regularly back up your Raspberry Pi data to prevent loss.
- Document your setup and configurations for future reference.
- Stay updated with the latest Raspberry Pi OS and software updates.
- Monitor your IoT devices regularly for performance and security issues.
Implementing these practices will enhance the reliability and efficiency of your remote IoT projects.
Conclusion and Call to Action
Remotely accessing your Raspberry Pi for remote IoT on Windows 10 opens up a world of possibilities for innovation and automation. By following the steps outlined in this guide, you can set up a secure and efficient remote connection, enabling you to manage your IoT projects from anywhere.
We encourage you to leave a comment below sharing your experiences with remote Raspberry Pi access. Additionally, feel free to explore other articles on our site for more insights into IoT and technology. Together, let's build a smarter and more connected future!